How Do I Kinesio Tape My Pregnant Belly?
At some point in pregnancy, most people find themselves wondering what they can do to give their belly a little support. The first place people turn is often belly bands, and while belly bands can feel great for some, in other cases they feel like too much. Also, for anyone experiencing pregnancy in a hot place… an extra layer of clothing is not always welcome.
Kinesio tape is an easy way to give your belly a little support through pregnancy, without the extra compression or layers that wearing a belly bands requires. Kinesio tape is thought to:
Reduce short term pain and the need for pain relief
Improve and support muscular activity of the taped muscle fibers
Improve blood flow and lymphatic flow
Provide some good sensory feedback and a mid-term reminder of body positioning
Too often we’re telling people that pain and discomfort are just part of being pregnant, but there are so many tools out there to address common aches and pains in pregnancy. Taping is safe and effective. The most common adverse reaction is an allergy to the adhesive. If you start to feel itchy under the tape or start to notice redness under the tape on your skin, remove the tape and try again with a different brand or use a simple medical tape underneath the kinesio tape to protect yourself.
Here' are 5 steps to tape your pregnant belly:
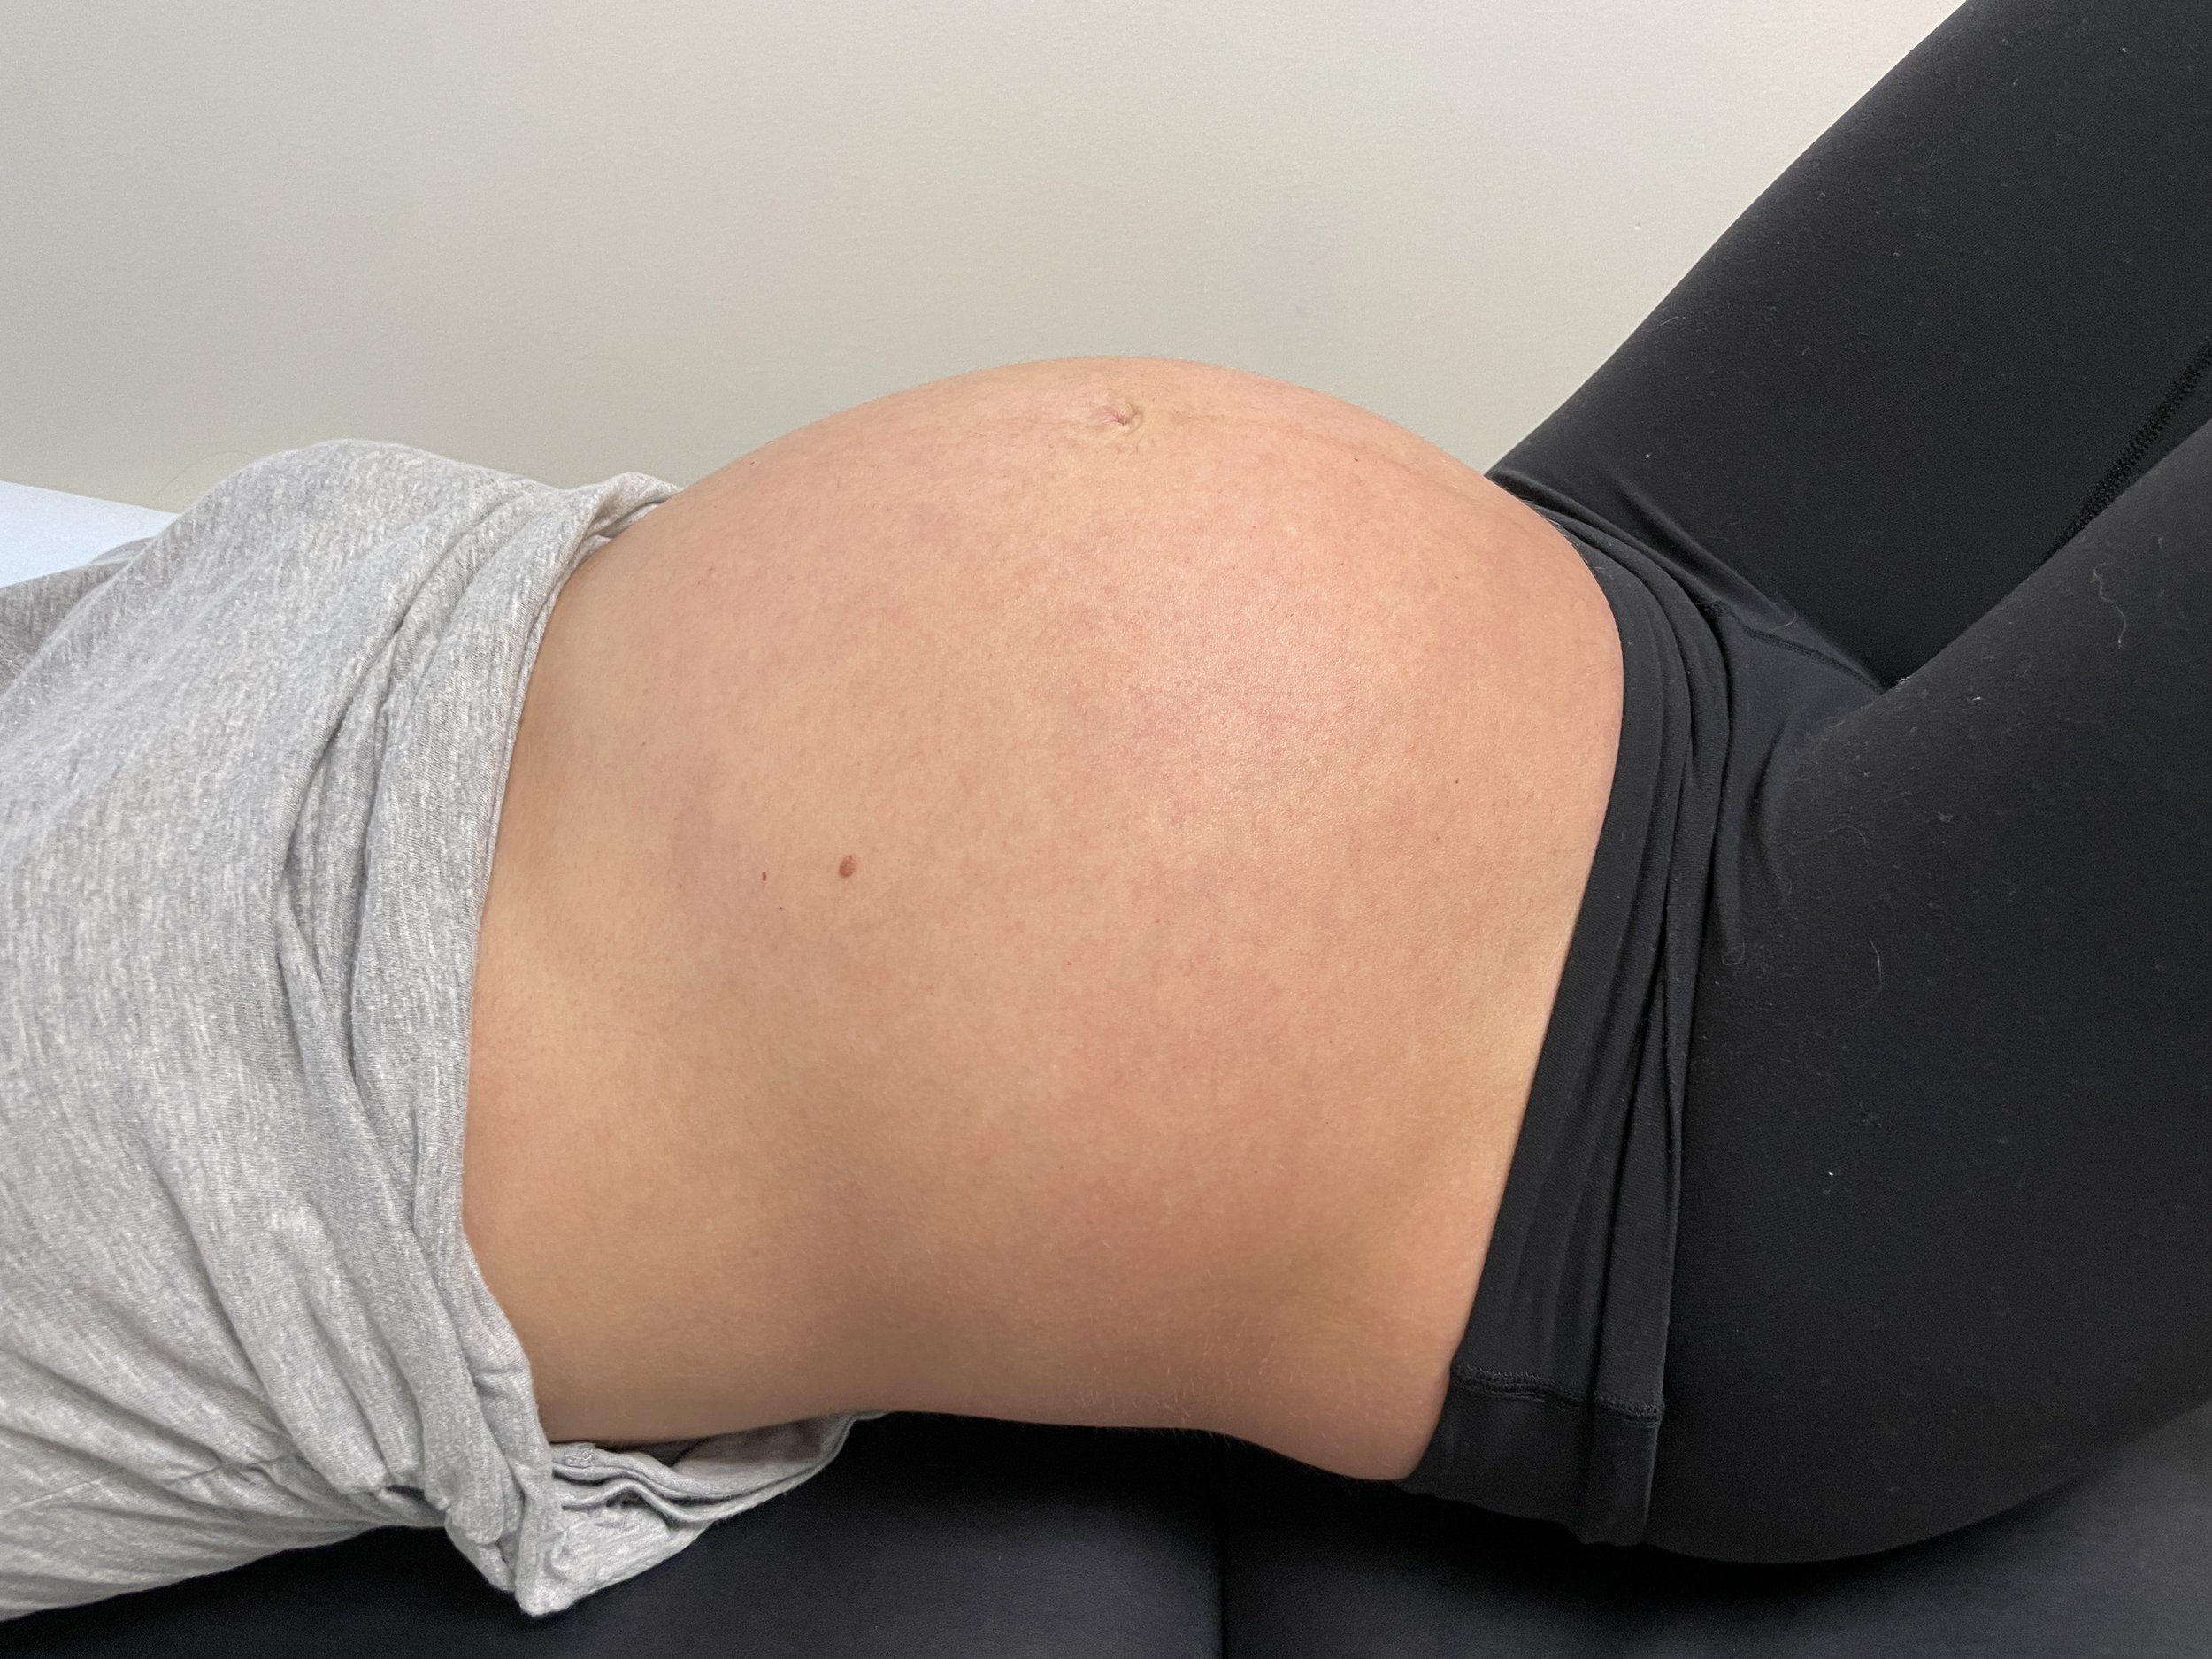
Step 1:
Lay on your back with your knees bent and feet flat on the table. Tuck your tailbone under your body, bringing the small of your back to the mat or floor.
The more you tuck your tailbone under your body, or the more posteriorly tilted you are, the more support the tape will provide when you stand up! This step is one way you can modulate the amount of support the tape provides.
It’s also important to note that while you theoretically could tape yourself, you’ll likely find more success having a partner help you. It’s hard to see and tape over the bump while you’re laying on your back.
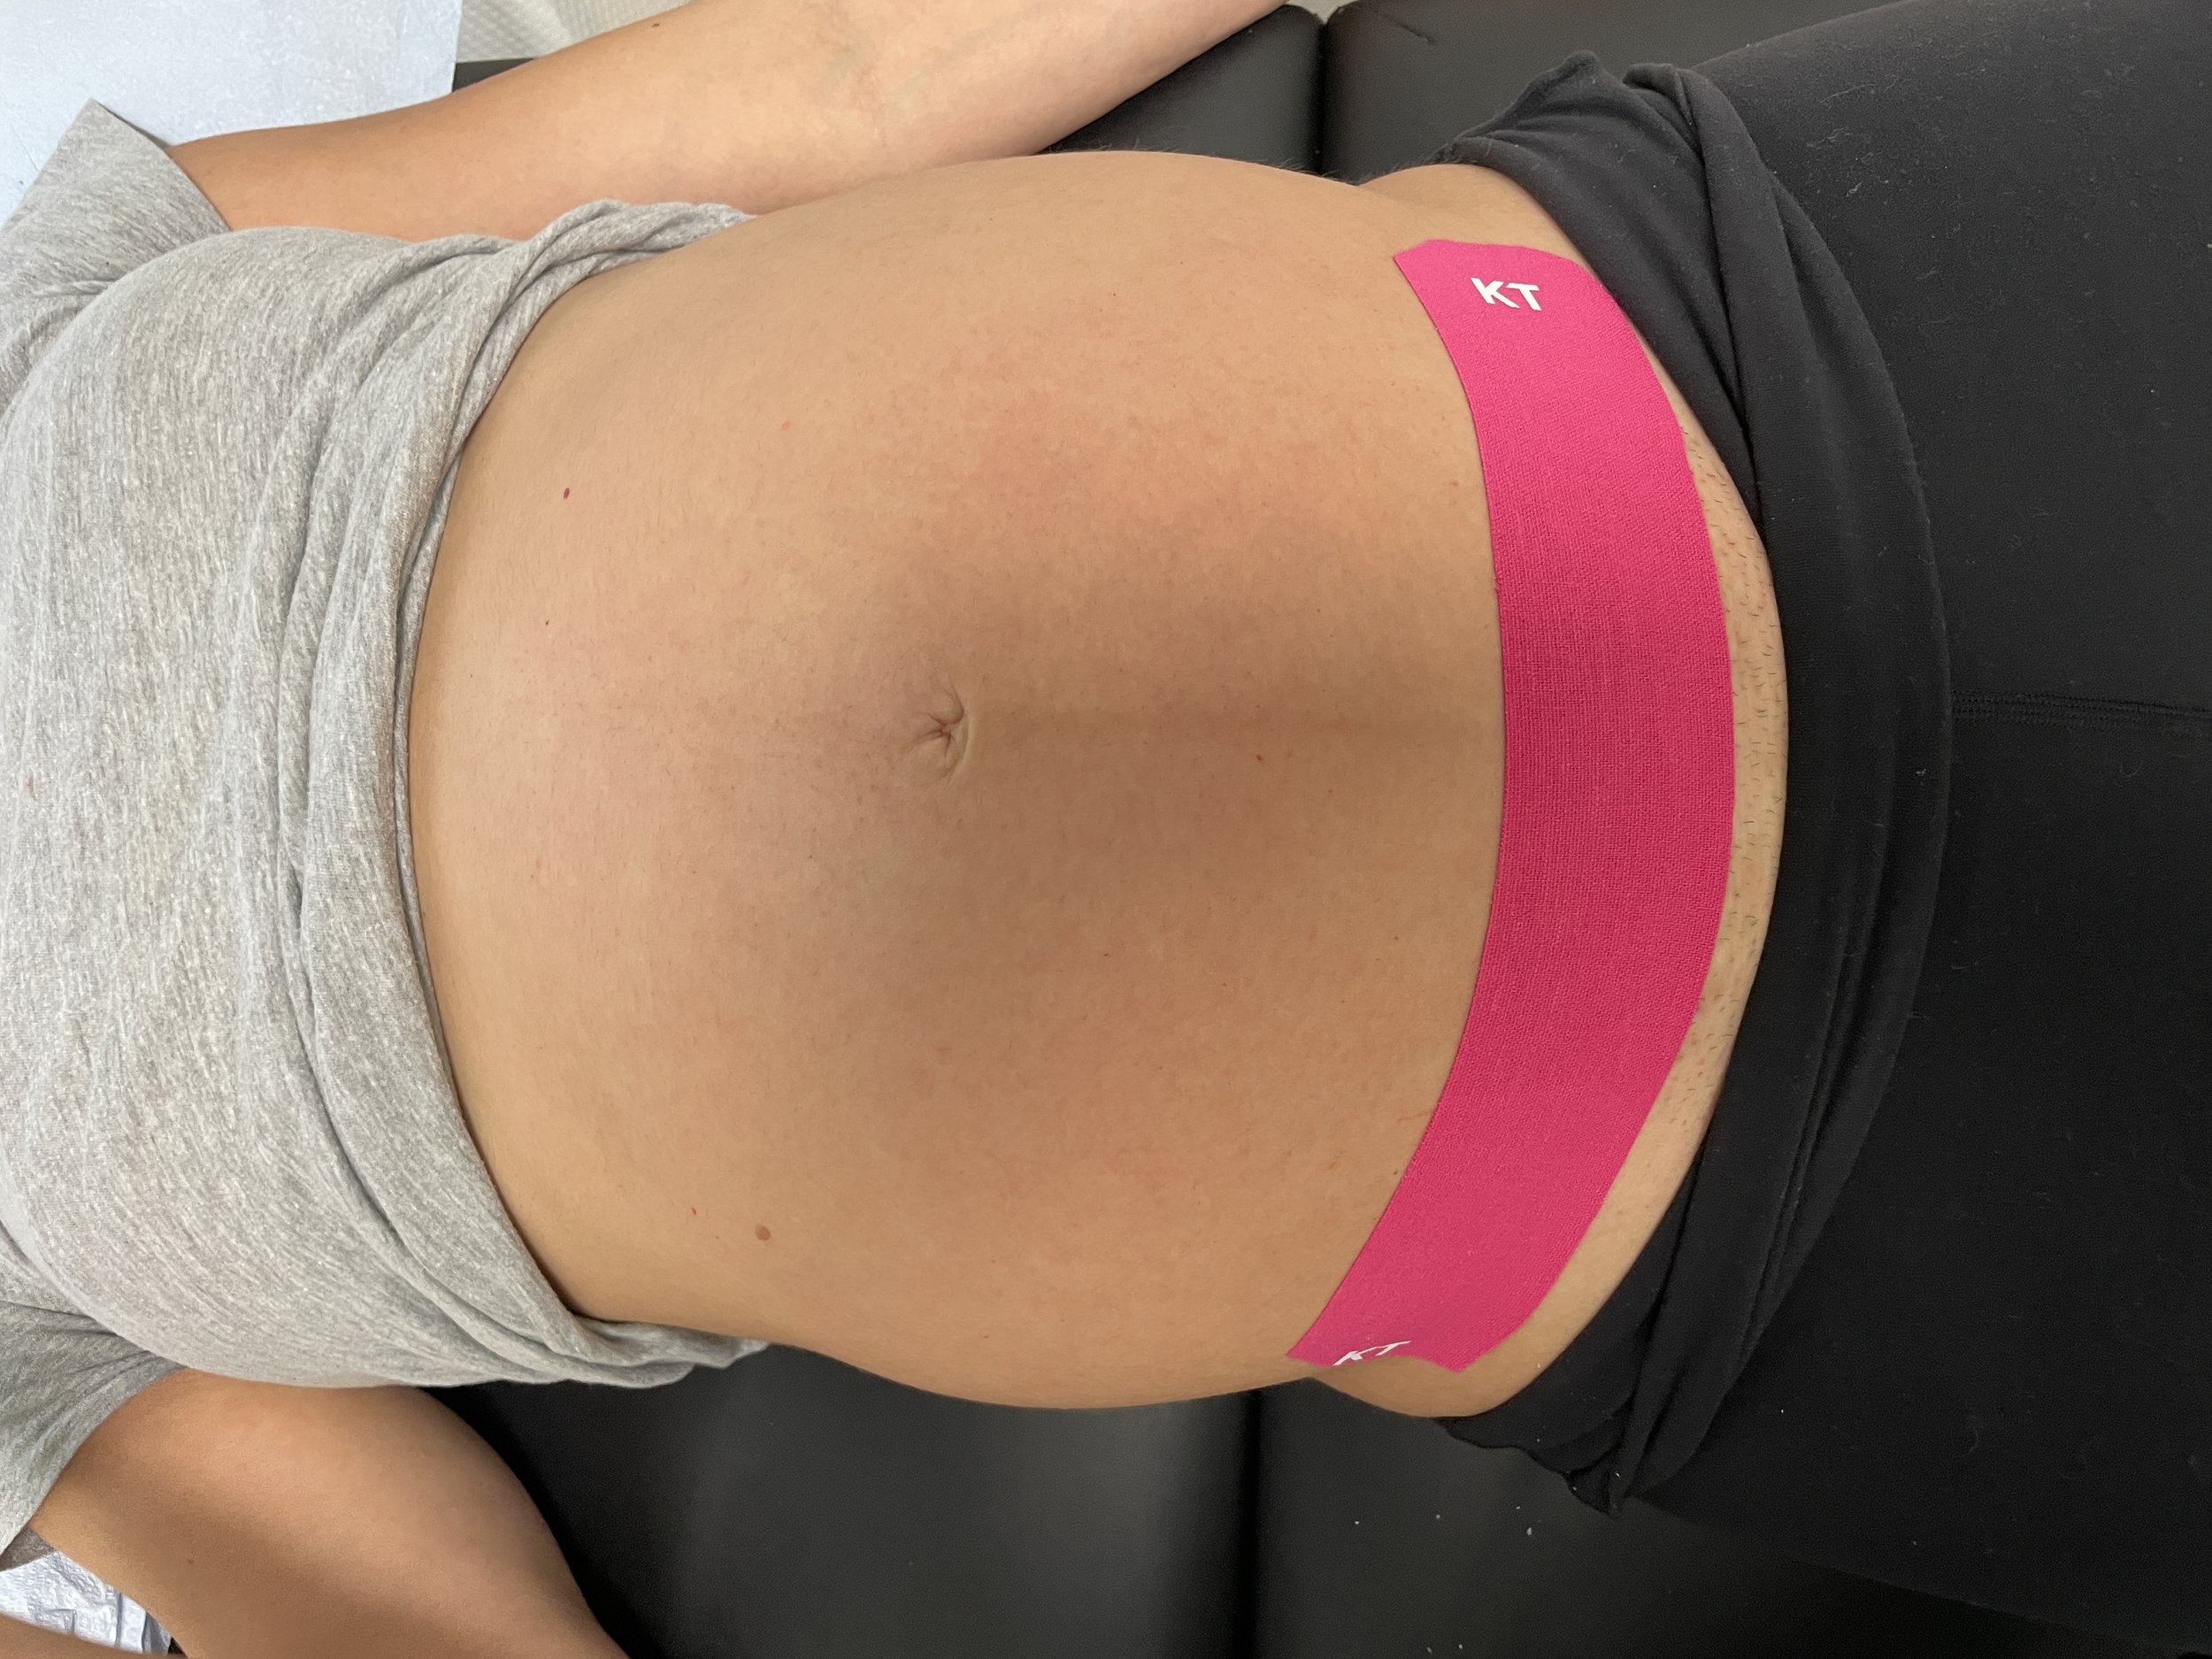
Step 2:
Start with an anchor under the belly. There should be no tension on this strip.
One of the main benefits of kinesio tape comes from the elastic property of the tape. To get access to all the benefits of kinesio tape like improved blood flow and improved lymphatic flow, we typically want to take advantage of the elasticity. But this step is just about setting your anchor, so you do not need to create any tension on the tape.
Simply peel off one side of the paper, place the tape on the inside of one hip bone and then place the tape across the low belly without creating tension.
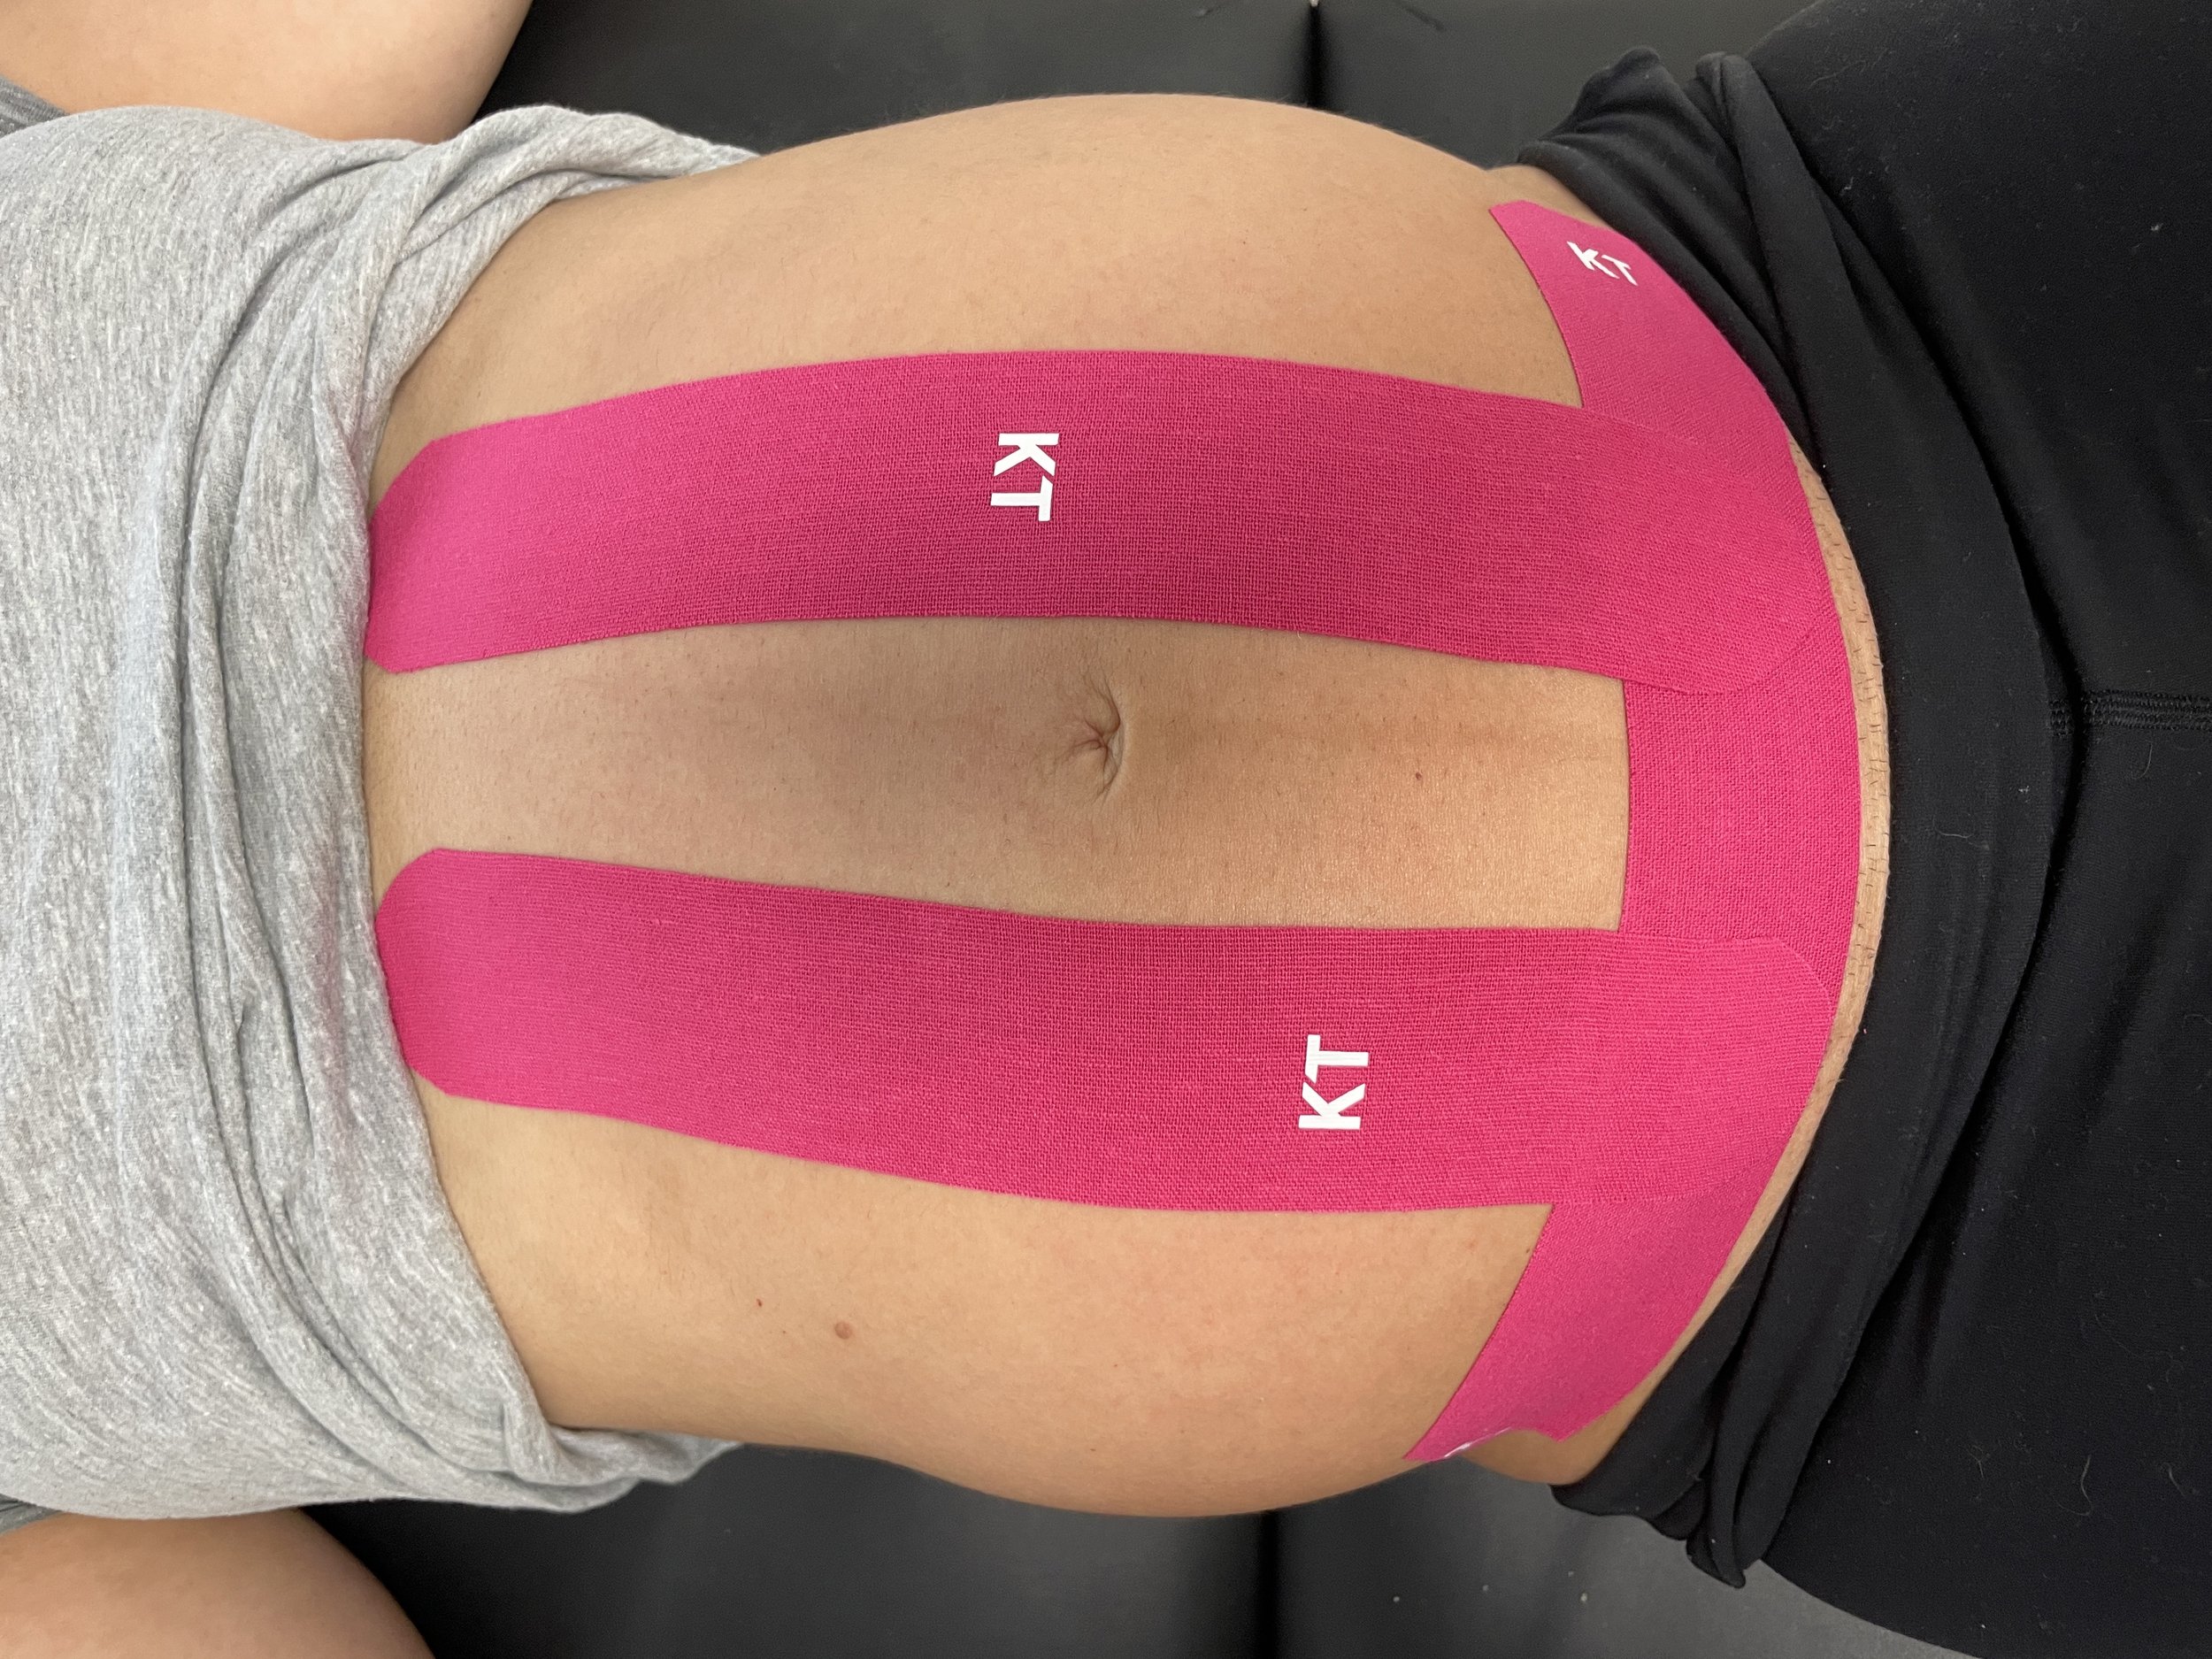
Step 3 & 4:
These steps will be when you apply the support strips and want to use tension to your advantage. If you’ve lost your tucked tailbone, go ahead and reset your posture. Remember, the more posteriorly tilted you are, the more support you’ll receive.
Measure two pieces of tape a couple inches shorter than the area from anchor to the bottom of your rib cage. Measure another two pieces of tape from the anchor wrapping to the side of your belly. You may have to play with the length based on your torso length, so don’t worry if you don’t get this right the first time.
Pro tip: Cut the tape on the longer side so you can shorten it as needed without wasting the entire strip.
Once you have your strips, cut off the corners of the tape so the edges are rounded. This will reduce the likelihood the tape peels before it’s time to remove it.
Place your first strip an inch to the left of center on your anchor. Create 50% or so stretch in the tape and follow a straight line just to the side of your belly button up to the bottom of your rib cage. Repeat on the other side.
Place your third strip on the same anchor point, again creating 50% or so stretch in the tape wrap the tape at a diagonal to the side of the belly. Repeat on the other side.

Step 5:
Stand up, move around and celebrate! You now have a supported, taped belly!
But before you go, remember: Remove the tape if your skin becomes itchy. It’s not uncommon for folks to have a reaction to the adhesive. The first time I have someone use tape I typically advise you take it off after 24 hours to see if your skin is reacting. If it’s not, great. You can tape yourself again immediately. If your skin is red, itchy or raised, give your body a break and try again using a white medical tape underneath your kinesio tape to create a barrier for your skin.
If you feel comfy wearing the tape, you can keep it on for 2-3 days before removing and re-taping. You can shower and exercise normally with kinesio tape on your belly.
Pro tip for removing tape: Kinesio tape is STICKY. Using coconut or olive oil around the edges to help peel the tape can make removing it much more comfortable.
And if you’re experiencing belly or back pain during pregnancy, message us here! Our pelvic floor physical therapists can help you identify the cause of your pain and create an individualized treatment plan to get you pain free! Our office offers a number of treatment modalities to address your discomfort, including kinesio tape, dry-needling, manual therapy, biofeedback, exercise modification and therapy. Reach out to us today!

This post was written by Dr. Rebecca Maidansky, PT, DPT, owner and founder of Lady Bird Physical Therapy. Rebecca is a pelvic floor physical therapist in Austin, TX and founded Lady Bird Physical Therapy in 2019. She is the creator of Birth Preparation and Postpartum Planning, Baby Steps Fitness and the head writer and editor of The Pelvic Press.
Rebecca is a passionate writer and vocal advocate for pelvic health and the importance of improving access to perinatal care. She believes strongly that many common pregnancy pains and postpartum symptoms can be eased or even prevented with basic education and care.
She created this blog to help all birthing people manage common pregnancy pains, prepare for birth and recover postpartum.